Germinating Weed Seeds: Method, Realistic Timings, and What a Failure Usually Means
Royal King Seeds
Cultivation team
Most cannabis seeds split and push a taproot within two to four days if you keep them dark, damp but never submerged, and somewhere steady between 20 and 25 degrees. Slow ones take a week; a handful take ten days and still grow into perfectly good plants, so the single most common mistake is throwing a seed out on day four because nothing has happened yet.
That is the answer. The rest of this matters because New Zealand conditions change two things: early-spring temperatures in most of the country are below what a seed wants, and the season you are germinating into runs the opposite way to almost every guide you will read online. Get the warmth right, start at the right point in the calendar, and germination stops being the part of growing you worry about.
Two to four days, 20 to 25 degrees, dark and damp is the whole answer
A cannabis seed needs three things to break dormancy: moisture, warmth and oxygen. Every method that works — paper towel, glass of water, straight into damp coir, jiffy plug — is just a different way of delivering those three at once. Every method that fails has usually starved the seed of one of them, and nine times out of ten it is oxygen, because the seed has been left sitting in water for two days.
Timings you can plan around:
- Shell cracks: 24 to 72 hours in warm conditions.
- Taproot 5 to 15 millimetres long: 2 to 4 days. This is when it goes into the medium.
- Shoot breaks the surface: 2 to 4 days after planting, so day four to day eight from the start.
- First true serrated leaves: roughly a week after emergence.
- Slow but viable: anything up to day ten. Give it the full ten days before you write it off.
Germination rate is a property of the batch and the genetics, not something you can reason out from a blog post, so where we have tested it the figure is published on each cultivar's own genetics report — the Digweed Feminised genetics report is an example of the format. Treat your own results against that, not against a number someone made up.
The paper towel method, step by step, and why it fails least
Paper towel gets recommended constantly, and the reason is not that it is gentler — it is that you can see what is happening. A seed that has not cracked in five days tells you something. A seed buried 15 millimetres deep in potting mix tells you nothing until it is too late to intervene.
- Fill a clean container with tap water and leave it standing uncovered for a few hours so any chlorine gases off. Rainwater is fine if it is clean.
- Fold two or three plain paper towels, soak them, then wring them out until no water runs when you press. Damp, not dripping.
- Lay the seeds on one half with a couple of centimetres between them, fold the other half over, and put the whole thing in a sealed takeaway container or between two plates.
- Keep it dark and at 20 to 25 degrees. Check once a day, no more — every opening dries the towel and chills the seeds.
- When the taproot is 5 to 15 millimetres long, move it. Longer roots tangle in the paper fibres and tear when you lift them.
- Plant taproot down, 10 to 15 millimetres deep in pre-moistened medium, cover loosely, and do not press it in.
Handle the seed by the shell, with clean fingers or nothing at all. Tweezers crush more taproots than any other single tool in a grow. If a root has grown into the towel, tear the paper around it and plant paper and all — it will rot away harmlessly.
A 12-hour soak in plain water before the towel stage can help visibly old or very hard-shelled seeds take up moisture. Twelve hours, not twenty-four, and not overnight-plus-a-forgotten-morning. Seeds left in water past about a day begin to suffocate and the failure looks identical to a dud.
Straight into the medium is slower to watch and kinder to the taproot
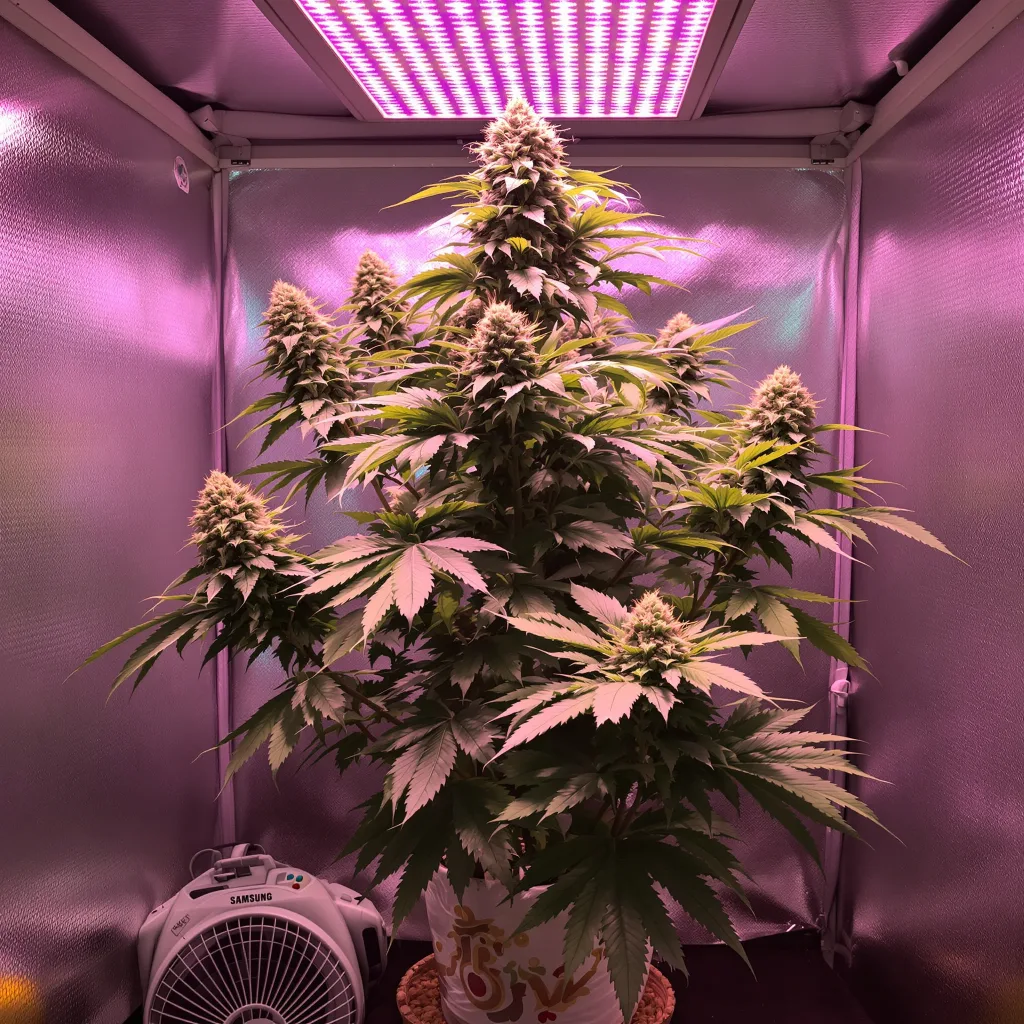
Sowing directly into the pot the plant will occupy removes the transplant entirely. No handling, no snapped root tip, no shock. The trade-off is that you lose all visibility, so it suits growers who already know their medium holds moisture evenly and who are sowing more seeds than they strictly need.
If you go this way: pre-moisten the medium until it clumps but does not drip, make a 10 to 15 millimetre hole with a pencil, drop the seed in, backfill without compacting, and mist the surface rather than pouring. A clear cover or a plastic bottle cut in half over the top keeps the top centimetre from drying while you wait. Pull that cover as soon as the shoot is up, or you are building a damping-off incubator.
Depth is where this method goes wrong. Too shallow and the seed dries out or heaves itself onto the surface; too deep and the seedling exhausts its reserves before it reaches light. A seed sown 40 millimetres down in heavy mix will often germinate and then simply never appear.
September nights are why germination stalls in the south
An unheated room in Invercargill or Alexandra in September sits well under 15 degrees overnight. A seed at 14 degrees is not dead, it is just extremely slow — and slow germination in damp paper towel is exactly the condition in which fungi get to the seed first. This is the single biggest germination variable in New Zealand, and it is invisible unless you measure it.
Practical warm spots, in rough order of reliability:
- A seedling heat mat with a thermostat. The only option that actually holds a temperature. Set it to 22 to 24 degrees at the seed, not at the mat surface.
- The hot water cupboard. Genuinely useful, and genuinely risky — many run above 30 degrees, which cooks seeds and dries towels in hours. Put a thermometer in first and check it twice.
- On top of the fridge, or near a hot water cylinder. Mild, steady, usually around 22 degrees. Perfectly adequate.
- Under a running LED in a closed tent. Works well in a sealed tent, and lets you keep the seedlings there once they emerge.
What to avoid is a windowsill. North-facing glass in Nelson in October will swing from 35 degrees at two in the afternoon to 10 degrees by midnight, and that swing is worse for a germinating seed than a steady cool room.
Timing germination against the New Zealand season, not a Northern Hemisphere calendar
Outdoors, you are aiming to put hardened-off seedlings out after your last frost, which for most of the country means October, later inland and in the deep south. Work back from that: germinate in the second half of September for a mid-October planting, and you get a seedling with three or four weeks of indoor growth behind it rather than a bare taproot going into cold spring soil.
Germinate too early — August, say — and you end up nursing a root-bound, stretched plant indoors for six weeks waiting for the frosts to finish. Germinate too late, in November or December, and you shorten the vegetative window that determines final size, and you push flowering deeper into the damp end of autumn where botrytis lives. Both errors are common and both are avoidable with a calendar.
The shape of the whole season is worth having in front of you before you wet a single seed:
Timings shift with latitude — the north runs earlier and longer than inland Otago and Southland.
Autoflowers change the arithmetic, because they run on age rather than daylight. A germination date in November or even December can still produce a finished plant before autumn closes in, which is why growers in Southland and Central Otago lean on them. If you are working within a short frost-free window, the autoflowering seed range is where that flexibility comes from, though the flip side is that every day lost to a stalled germination is a day of total plant life you never get back.
What a failed germination usually means
Truly non-viable seeds exist, but they are a minority of reported failures. Most of the time the seed was alive and something in the process reached it first.
It never cracked at all
Almost always temperature, moisture or age. Cool conditions stretch germination to a fortnight or stop it; a towel that dried out for a few hours at the critical point ends it outright; seeds stored warm, in sunlight or in a damp shed lose vigour over months. Storage matters more than most people think — cool, dark, dry, airtight. If you keep seeds in the fridge, let the sealed container come back to room temperature before you open it, or condensation will form on cold seeds the moment you break the seal. How seeds travel and arrive is covered on our shipping and packaging page.
It cracked, then stopped
This is the classic drowning pattern. Waterlogged towel, a soak that ran too long, or medium so wet it excludes air. The shell opens, a white tip shows, and then nothing moves for days. Sometimes a stalled seed recovers if you get it into damp-not-wet medium at a stable 22 degrees. Often it does not.
The taproot browned or the tip broke
Handling. Tweezers, a fingernail, or a transplant done at 40 millimetres of root instead of 10. A snapped or blackened tip will not regrow. Plant at the shortest root length you can see clearly and this failure disappears from your grow entirely.
It came up wearing the shell
Helmet head, and it usually means the medium was too dry or too loose to grip the shell as the seedling pushed up. Mist the shell with water, wait an hour so it softens, then ease it off with damp fingertips. Do not pull dry, and if the seed leaves come away with the shell, that seedling is finished.
It emerged, then fell over
Damping off — a soil-borne fungal collapse at the stem base that thrives in cool, wet, still air. That describes a New Zealand spring almost perfectly. The fix is prevention: airflow over the surface, water less than feels right, and take covers off the moment shoots appear.
The seedling's first fortnight is riskier than the crack
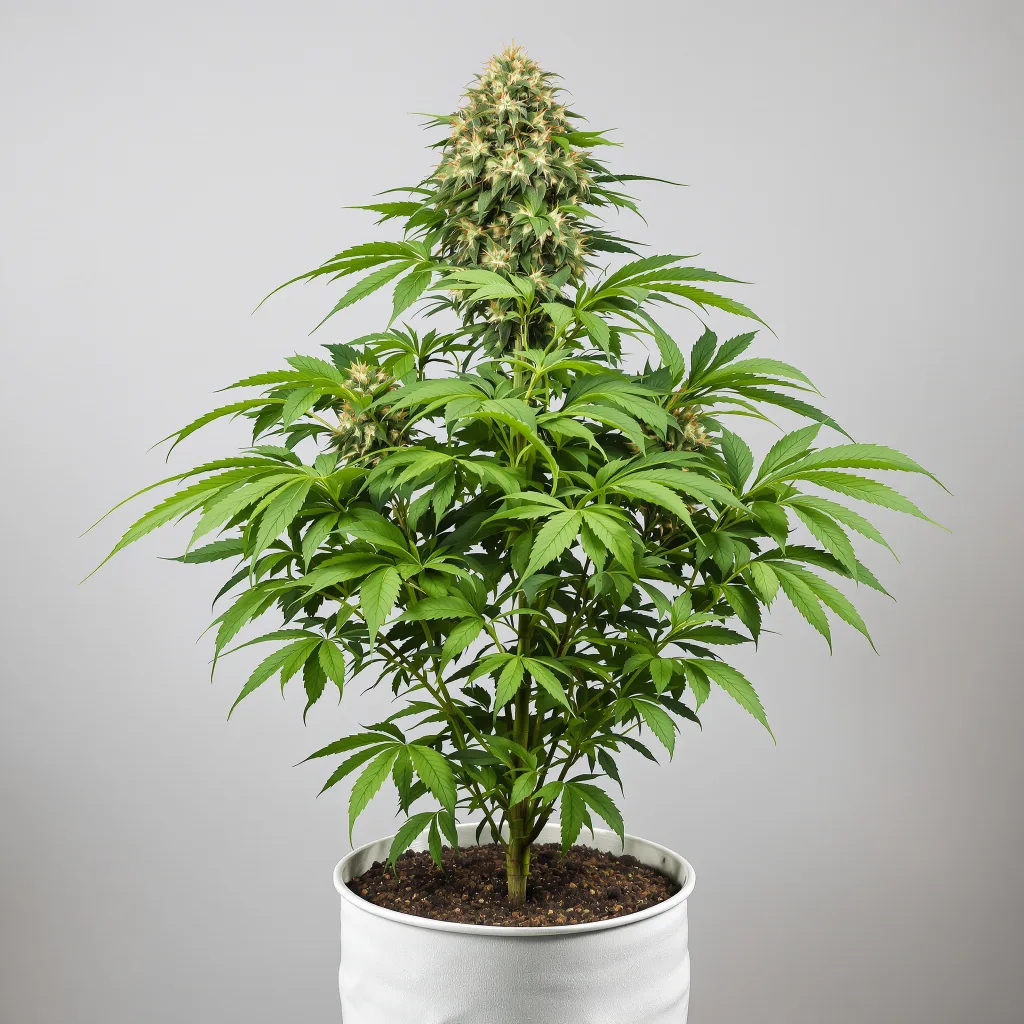
More plants are lost in the two weeks after emergence than during germination itself, and the causes are boringly consist: too much water, too much light, too much fertiliser.
A seedling has a root system a few centimetres across. Watering the whole pot around it leaves a saturated mass of medium the roots cannot reach or dry out, and roots sitting in anaerobic mix stop growing. Water a small ring close to the stem, let the surface dry between waterings, and increase the wetted area as the plant widens.
Light intensity is the other one. Seedlings under a powerful LED held too close bleach and stall; the same light at a sensible distance grows them briskly. If the first true leaves are curling upward at the edges and the growth looks squat and pale, back the light off before you start diagnosing nutrients.
Speaking of which — most potting mixes and all quality seedling mixes carry enough nutrition for the first two to three weeks. Feeding a seedling in week one is a reliable way to burn leaf tips. When you do start, work from a measured schedule rather than guesswork; our nutrient dose calculator will give you a starting strength to dilute down from for young plants.
Genetics that give a first germination the least to go wrong
No seed is easier to crack than another in any meaningful way — germination technique is the variable, not the cultivar. Where genetics matter is in what happens afterwards, and specifically in whether the plant finishes before your autumn closes in. That is the figure to shop on in New Zealand: flowering time, then bud structure, then yield, in that order.
Three cultivars that behave predictably from seedling through to harvest, and that suit a first or second run:
M-39 Feminised is a sensible outdoor choice through the damper north because it moves quickly, and speed is the best defence against botrytis there is. Chemo is the denser, heavier option and wants more airflow. Weighing two candidates against each other is easier side by side than in prose:
| M-39 Feminised | Chemo Feminised | |
|---|---|---|
| Type | Photoperiod | Photoperiod |
| Lean | Hybrid | Indica |
| Listed THC | 16% | 22% |
| Flowering | 39-43 days | 49-56 days |
| Height | Short | 90-120 cm. Medium |
| Indoor yield | 350-450 gr | 800 gr/m² |
| Outdoor yield | 500 gr | 650 grams |
| Difficulty | Easy | Beginner To Intermediate |
| Price from | $25.19 | $27.89 |
If you want to see how flowering times spread across a whole catalogue rather than compare two plants, the distribution across the feminised seed range makes the trade-off obvious:
1254 of 1254 varieties in this category publish a flowering time. Counted from the catalogue when this page was built.
For an outdoor run specifically, start from the cultivars selected for outdoor growing, or narrow by finishing time and climate with the strain finder.
Frequently asked questions
How long should I wait before giving up on a seed?
Ten days at a steady 20 to 25 degrees. Before that you are guessing, and slow seeds genuinely do catch up — a seed that cracks on day eight often grows indistinguishably from one that cracked on day two. If nothing has happened by day ten, check the seed for a soft or hollow feel, and check your thermometer before you blame the seed.
Do I need to soak seeds overnight first?
No, and overnight is where it goes wrong. Healthy seeds go straight onto damp paper towel or into damp medium without any soak at all. A 12-hour soak is worth it only for seeds that look old or unusually hard-shelled, and you should set a reminder so it does not turn into thirty hours.
When should I germinate for an outdoor grow in Canterbury?
Late September to early October, so seedlings are three to four weeks old and hardened off before they go out once frost risk has passed. Inland Canterbury and Otago get frosts later in spring and again from April, so the practical window is narrower than it is in Northland — which is an argument for a fast-finishing variety or an autoflower rather than for germinating earlier.
Can I germinate straight into garden soil outdoors?
You can, but the odds are poor in early spring. Soil temperature lags air temperature by weeks, birds and slugs take emerging seedlings, and heavy rain compacts the surface over the seed. Germinate indoors in pots and transplant out once the plant has a real root system and three or four nodes.
Does the fridge ruin seeds?
Cool, dry and dark storage preserves seeds well, so a fridge is fine provided the seeds are sealed in something genuinely airtight with stable humidity. The damage comes from moisture cycling — taking cold seeds out into a warm kitchen, opening the container, and letting condensation settle on them. Let the container warm up fully before opening, and avoid the freezer. Other storage and ordering questions are answered on our frequently asked questions page.
Related Articles
Ready to Start Growing?
All 1,677 varieties, posted unbranded and tracked to both islands, each with whatever grow figures we could trace.
Shop Cannabis Seeds